After my supercomputers arrived last Friday, I decided to have a look at getting the Ardent Titan going first, since that was the only system apparently complete enough to do so (the Intel iPSC/860 is missing a vital component: the SRM, a UNIX workstation that controls the rest of the system, and the Convex C1 XP and Convex C1 XL are missing the main SMD hard drives).
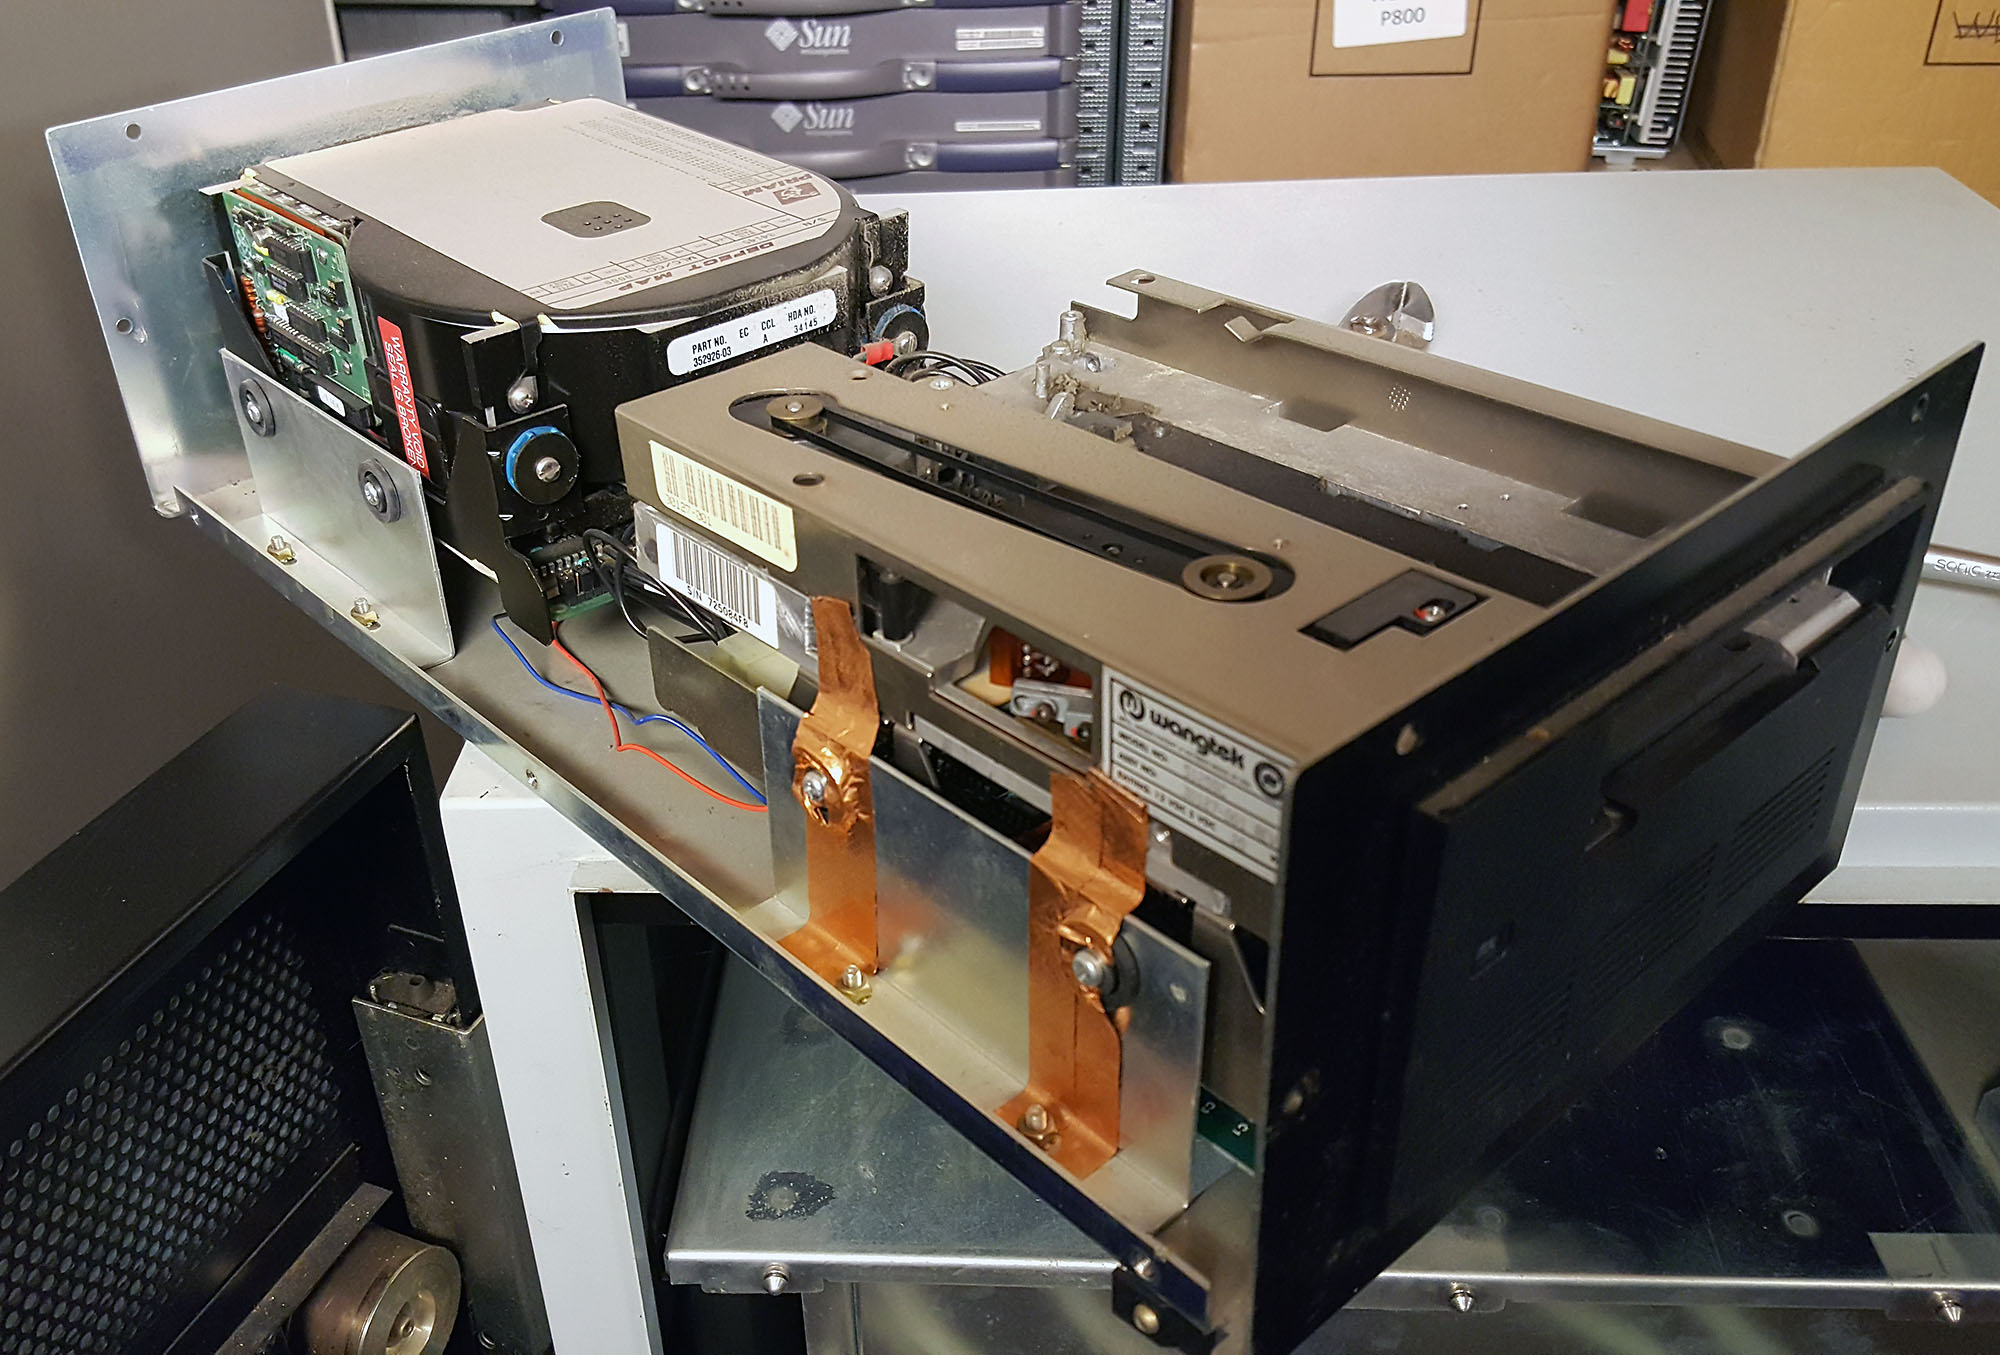
The first thing I did, was to take the 330MB Priam 738 SCSI disk out of the system, connect it to my laptop, and start making an image of it. While this was going, I started checking out the rest of the machine. First, the power supply.

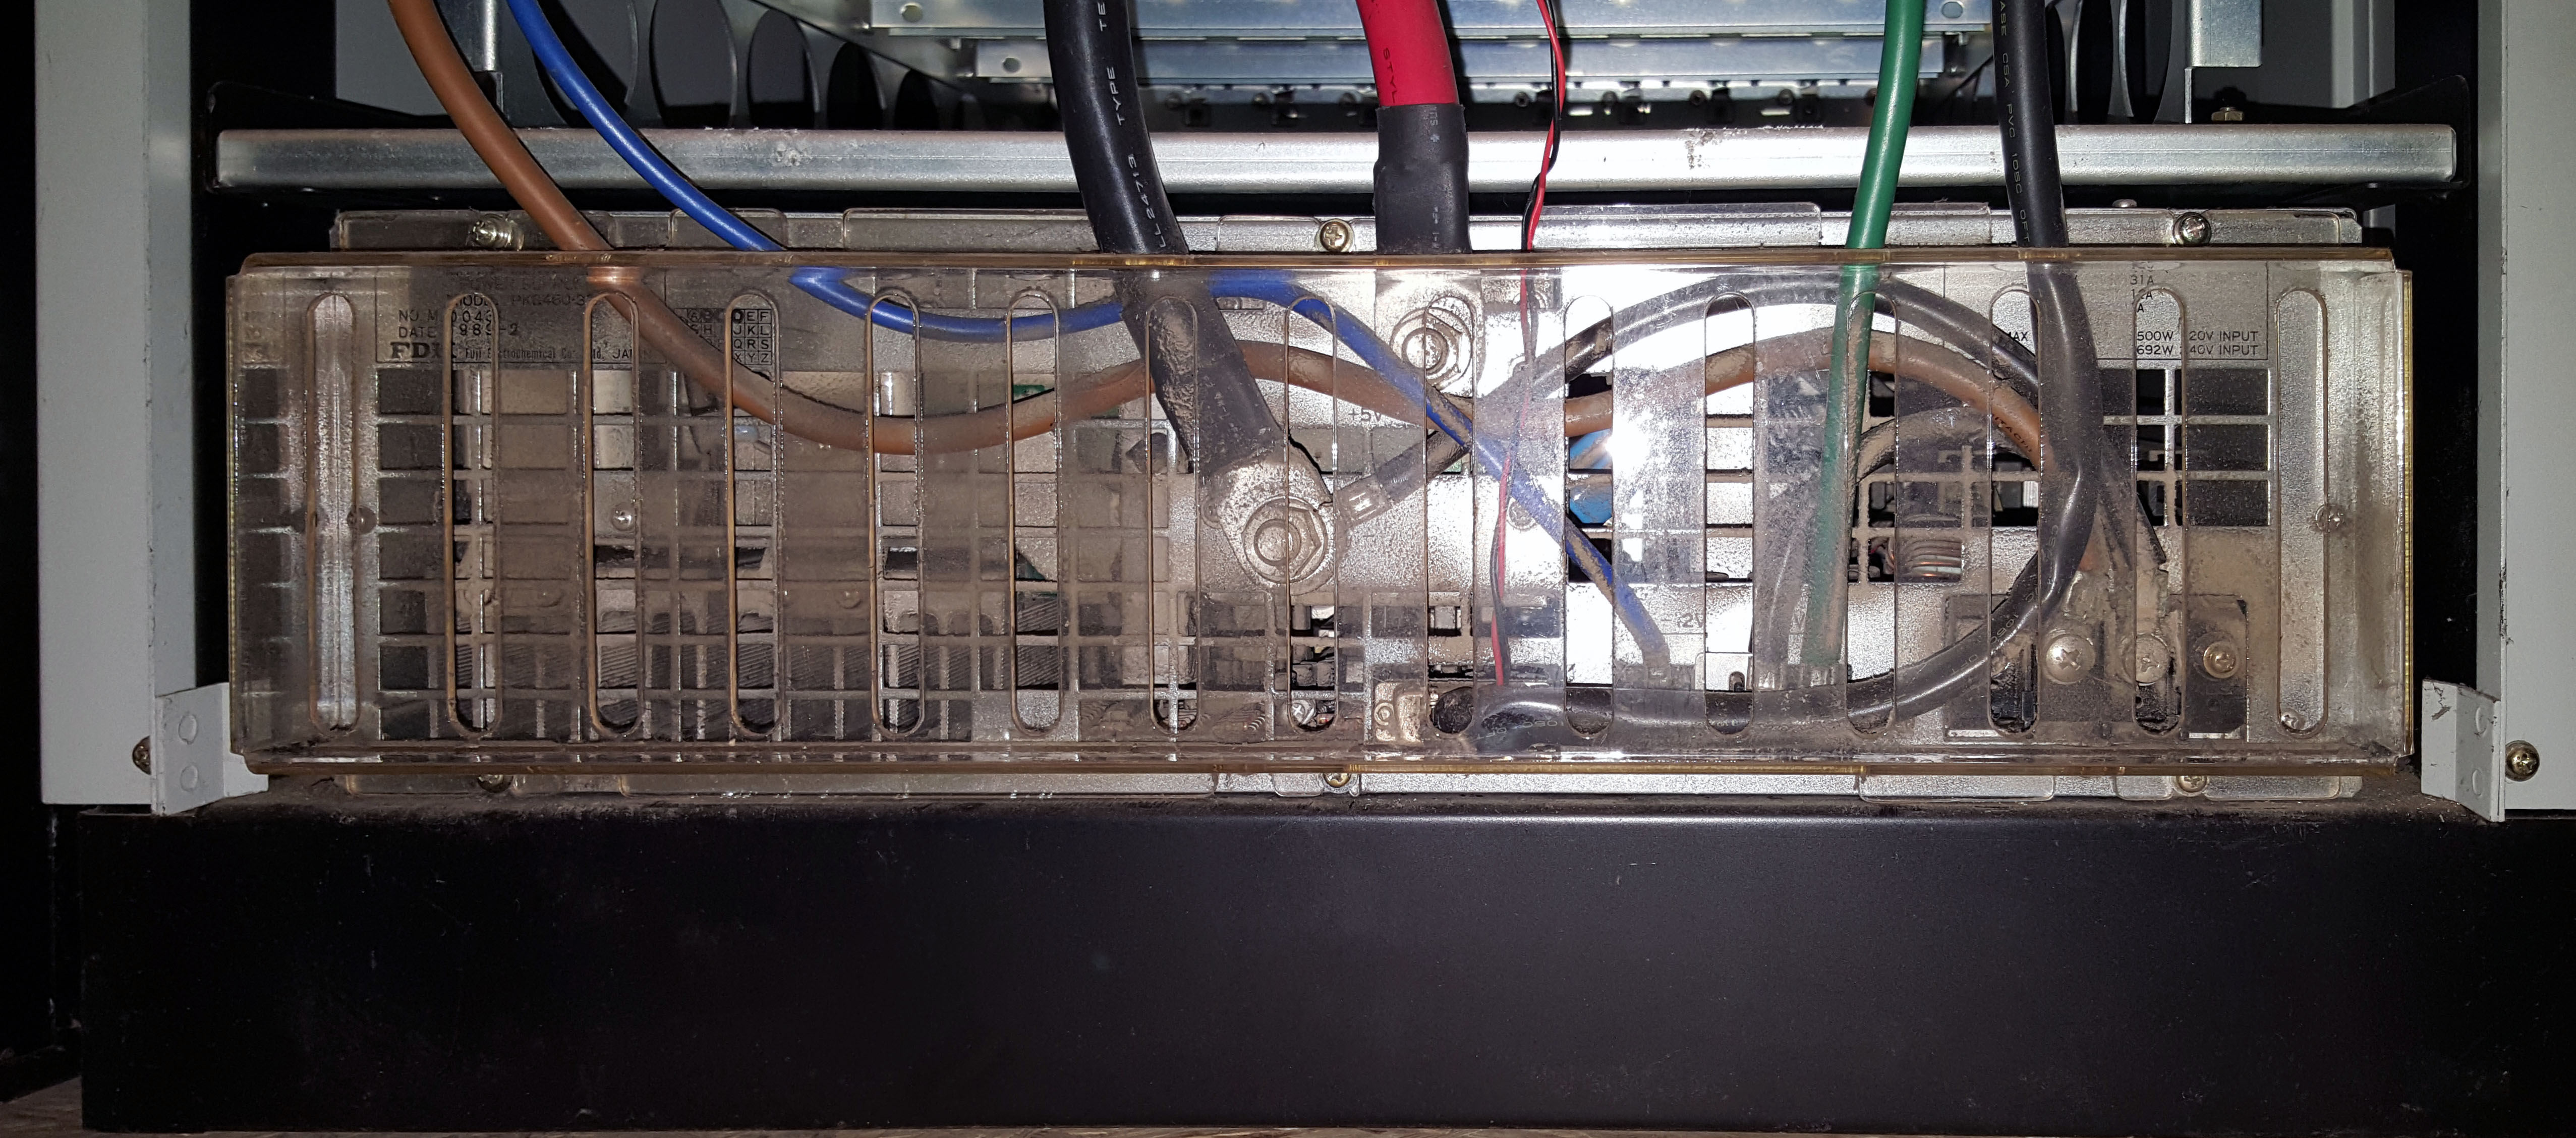
The power supply is a large FDK (Fujitsu) PKB460-30 switching power supply which fills the entire bottom part of the machine; 1692 Watts, mostly going into the +5V line. After taking out all the boards, visually inspecting the power supply, and wiring a 5 ohm power resistor across the 5V lines to create an artificial load, I crossed my fingers and plugged it in. So far, so good; no odd noises. I then turned the switch to turn the machine on, and using a multimeter I carefully checked the voltages on all the rails, and they're all about what you'd expect. I then took my oscilloscope to look for ripple, and this too showed nothing problematic.
A nice touch is that the Ardent logo on the front of the system is partly transparent, and that the power LED lights up the logo.
So, next, I plugged in a minimal board set (CPU, 1 memory board, and the I/O board), attached a serial terminal to the CPU diagnostic port, and switched the power on again. I had the terminal set to 9600 baud, and sure enough, some diagnostic messages went by that I could read; indicating that all self-tests had passed. Then, I got a lot of garbage on the terminal, and found that the output had switched to 2400 baud. So, changed the terminal settings, reset the system, and was greeted by a PROM prompt. I can change the PROM baudrate to 9600 baud by issuing a "nvram baud=9600" command, but when the machine is powered off it reverts back to 2400 baud, so probably the lithium battery backing the NVRAM has failed (I'm extremely happy though that it didn't spill its guts all over the I/O board!). I then switched it off, added the graphics boards, and switched it on again, and still all tests passed. I attached a monitor to the graphics card, and as a result I got a blue checkers-like pattern. I don't know whether or not this is the normal behavior.

After that, I had to wait for the hard disk imaging to complete; this took nearly 24 hours. I had a quick look at the image file with a hex editor, and was dismayed to find that it was mostly empty (0's). In fact, I could compress it down to 40 kilobytes with gzip, so no way that there's an OS installation on this disk!

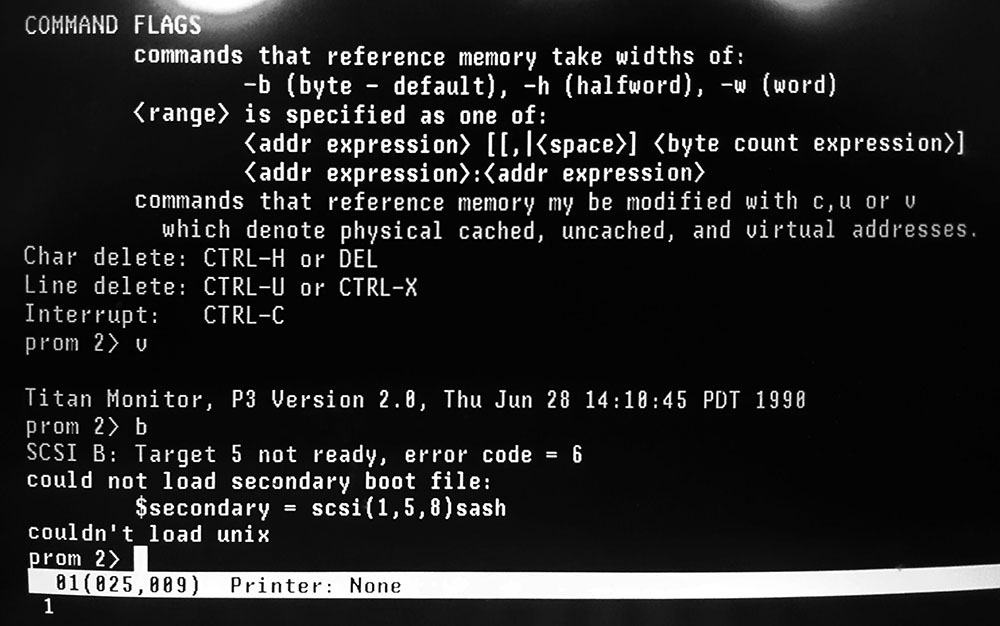
Anyway, I put the disk back into the device box, and plugged it back into the machine. As expected, the machine won't boot from this disk:

Above the main card cage, there are two slots where these device boxes can slide in; the one on the left is missing in my machine, and I guess this is the box that held the OS disk. In the image above, it's shown that the boot command without any options tries to boot from the box on the left (SCSI B), If I try to boot from the box on the right (SCSI A, "boot scsi(0,5,8)sash"), it complains that it can't find the file names sash, then proceeds to list the files it did find; this only shows a file called bsttab. Trying to boot that leads to a complaint that it's not in a.out format. Fortunately, I'm in contact with someone who believes he may have an installation tape for this machine, so hopefully I'll be able to install an OS soon.
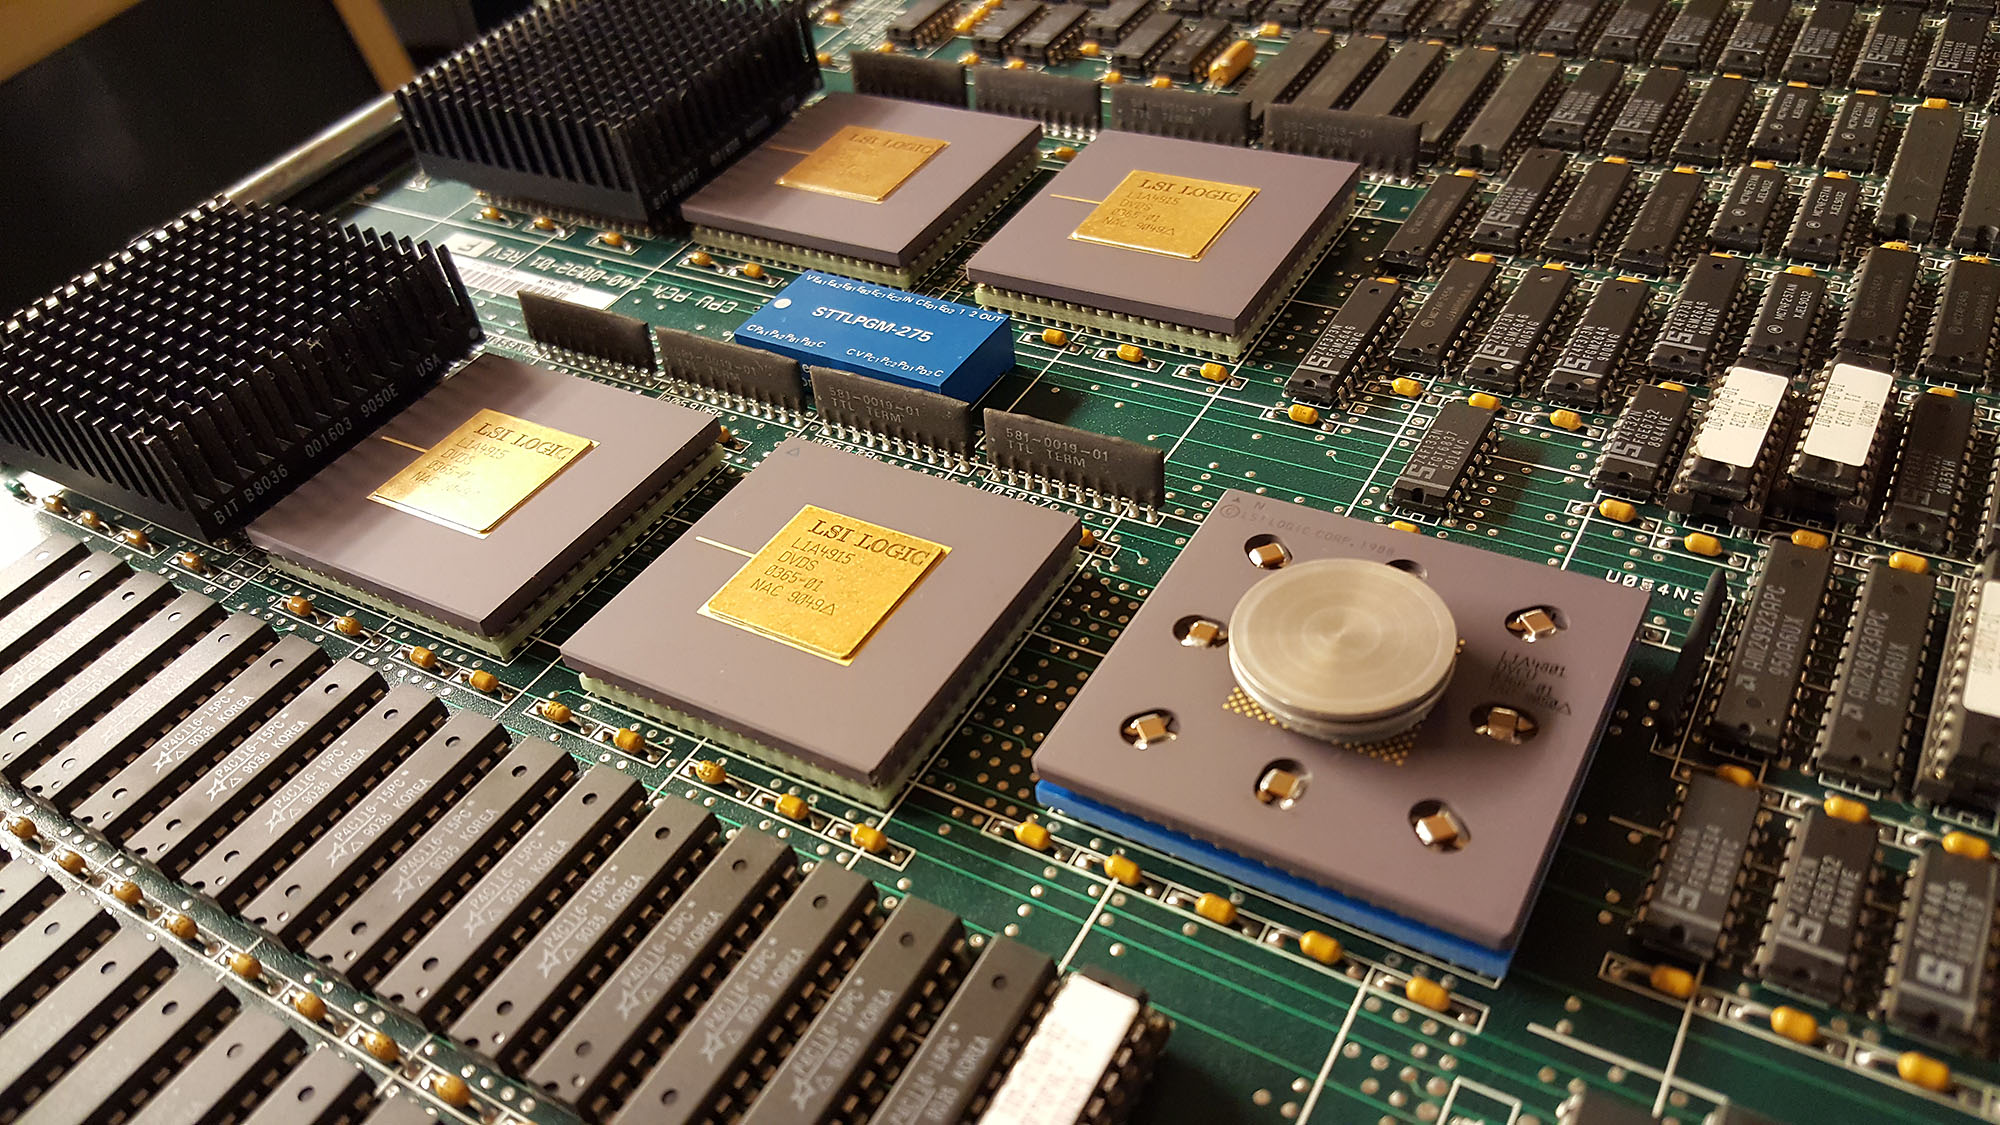
Note that this machine uses a MIPS processor (with a very large custom vector processor attached), and clearly implements parts of the ARC (advanced RISC computing) standard, which makes the system's PROM feel somewhat familiar to an SGI user. Partition 8 is the volume header, sash stands for "stand-alone shell", and bsttab is the "bad spot table", which lists defect sectors on the disk.

Besides the missing OS, there's another part missing, and that's the junction box. The system was designed to have the computer itself at some distance from the user's desk, so there's a 50 foot cable (a 200 foot cable was optionally available) to connect the computer to the junction box; the monitor, keyboard, and mouse are then plugged into the junction box. At first I thought that the junction box would be just a passive device, connecting the right pins on the cable to the right pins on the keyboard and mouse, but after some wire-tracing on the I/O module (with the intention of figuring out how too recreate the junction box), I learned that the keyboard and mouse signals are converted to 12V differential lines, probably so they survive the trip down the long cable, and that there must be some logic in the junction box as well. Fortunately, the person who may help me get an installation tape, may also have one of these junction boxes, and can help me figure out how to recreate one.
For now, though, I've done about all I can for this machine for now. I'll revisit it once I have access to an installation tape.
